This Forever More Black Peplum Top
can be purchased here. It was sent to me asking if I could make it. Well, I thought about it and went to work.
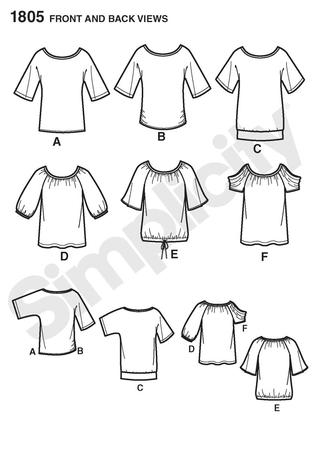
I started with Simplicity 6130 view B and C which I made
here.
  |
| Front |
  |
Back
A much smaller person tried this on for pictures.
|
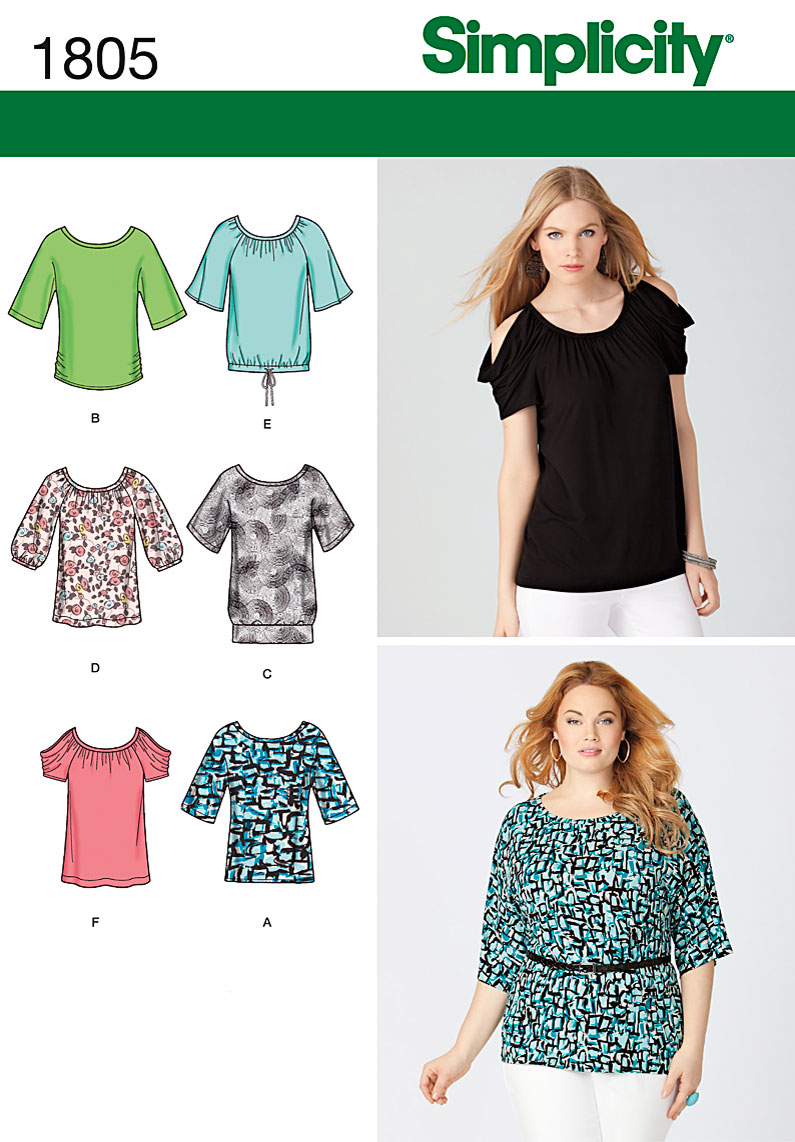
Fabric: Cotton/Polyester purchased from Fabric Mart was the only black fabric in my stash. Scuba knit, polyester/spandex, or some stiffer fun fabric would be a better choice for the curved ruffles.
There was a light blue top listed as a color choice. After closer examination, I could see that the ruffle was attached to the front and back at the sides.
Making the Ruffle
NOTE: Raise the neckline on the front and back pattern pieces before making the ruffle pattern.
While looking at the pattern pieces, I noticed the peplum pattern piece #15 had pleats. I laid the #15 on top of the front pattern piece and traced it around the armhole, shoulder, around the neckline adding the pleats, and ending with another shoulder attachment. Make sure and include enough fabric from the last pleat to extend so the seam will be centered on the shoulder. Then, I proceeded to draw the curve starting on the left at the bottom up to the shoulder.
Attaching the ruffle
1. Cut 4 of the new ruffle pattern.
2. Sew two ruffles together with right sides facing, trim and press. Make two ruffles. One for front and one for back.
3. Sew front and side front together.
4. Measure and cut a neckband using the sleeve band pattern piece as a guide.
5. Lay front bodice right side up.
6. Lay ruffle on top of front starting at the side, shoulder, and across to center front. Fold back towards right shoulder matching shoulder to shoulder. Make three pleats for front and three pleats for back.
7. Stay stitch ruffle to front of top.
8. Lay back bodice pieces on top of ruffle at shoulder and stitch together.
9. Add peplum and zipper.
10. At this point you can lay the neckband and sleeve bands.
Have Fun!


