


This is my first time in all of my over 40 years of sewing that I have used mitered corners. Therefore, off to the computer I went to view some video's. My corners turned out beautifully. Don't laugh -- I've always noticed the wide ribbon on the baby blankets, but I've never noticed the binding on
quilts. It's so small and cute! It was very easy and I'm very pleased with the results. Ok, I know this was a shortcut quilt, but it works.
I know the grand kids will have fun with having two quilts in front of the television.
To make the quilt, I purchased a bag of batting. Sandwiched the batting between the top piece and the backing, trimmed the fabrics to the length of the batting. Then, trimmed the side of the batting even to match the fabric.
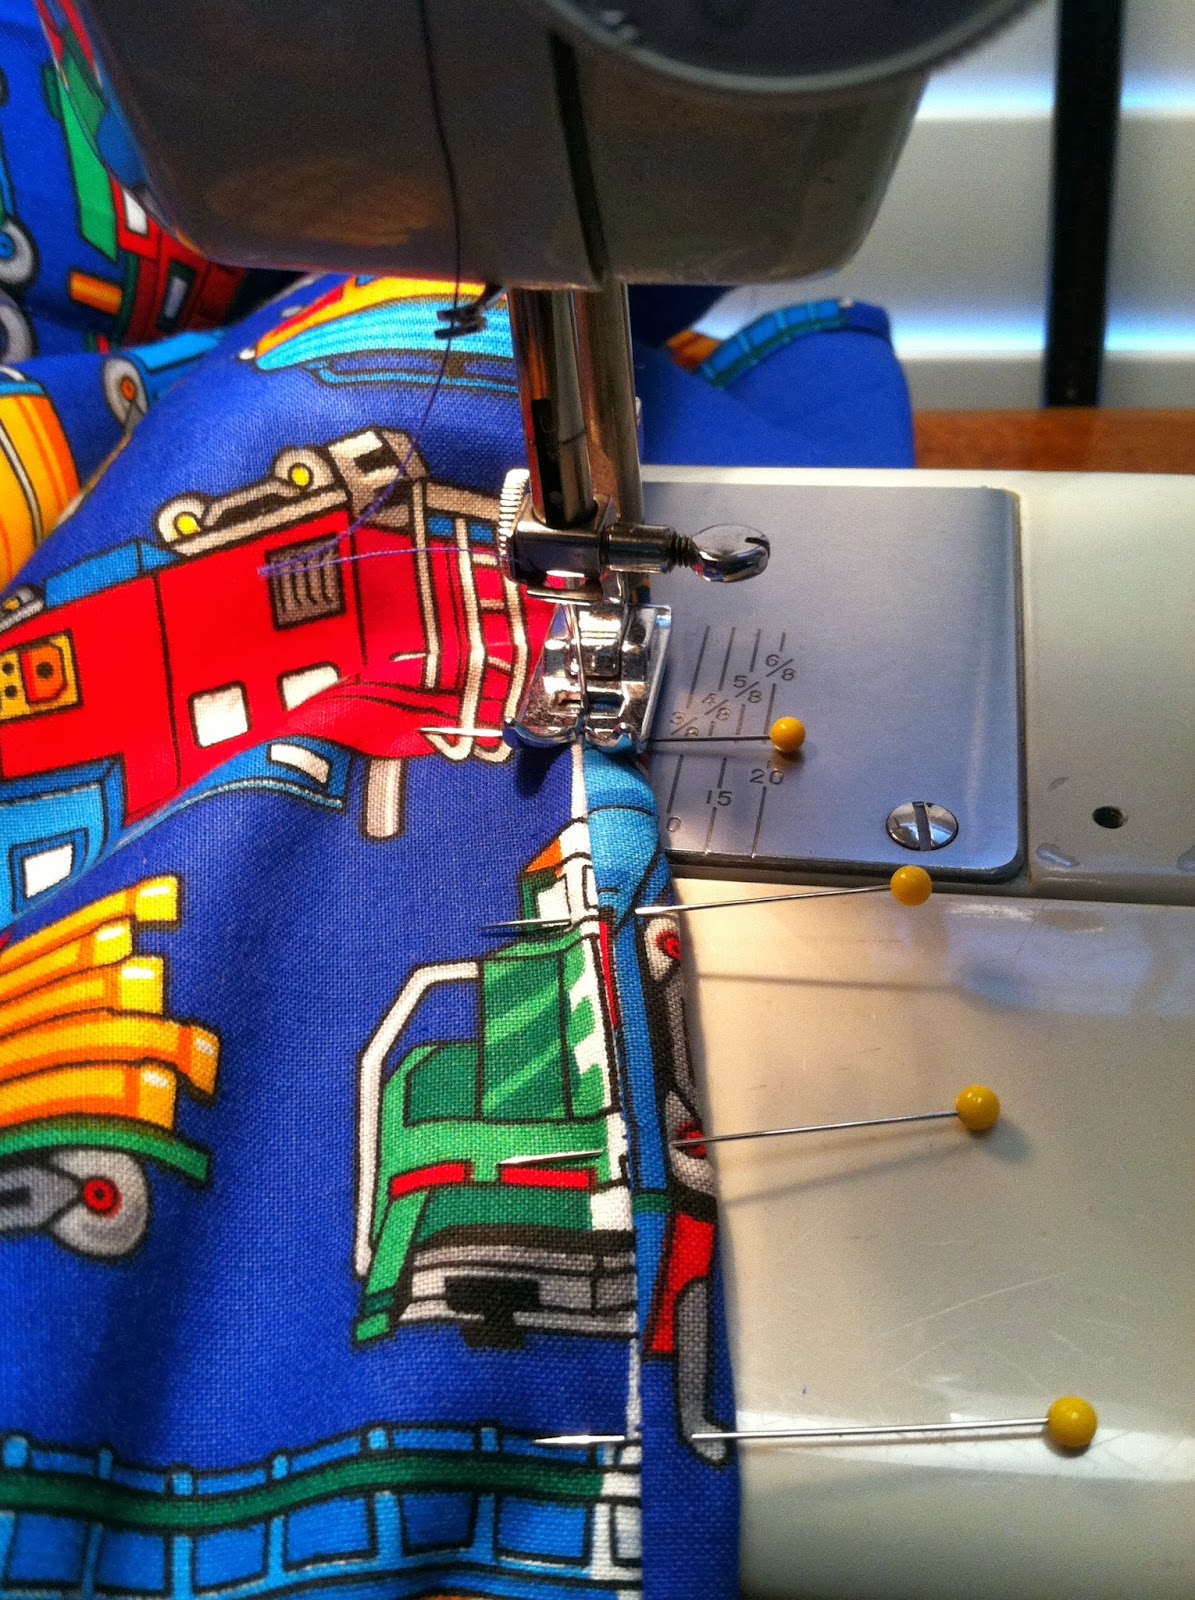
The fabric was 45" wide so I pinned the fabric in place and sewed four vertical rows 11 1/4 inches apart. I did not sew the basting around the edges. Cut 2 1/2 strip and sew together on the diagonal. Fold the strips in half and press. Then, turn in each side to the inside fold. Make sure your fabric, batting, and backing are even. Open the binding, place it on the edge of the fabrics and sew in the seam line making sure to complete the mitered corners. Flip the quilt and wrap the binding to the other side, pinning in place so that it will overlap the stitching. Finish by stitching in the ditch and catching the binding.
An idea: I was going to take the time and cut solid blue strips (backing fabric) for the top. Then cut the trains (top fabric) for the back. That way the top multi fabric would have a solid binding and the back solid would have a multi binding.
In order to do that one must cut the blue(backing fabric) strips 1 1/4 inches plus a seam allowance and also cut the train(top) fabric 1 1/4 inches plus a seam allowance. Sew them together, Press to the seam line and continue to complete binding.
Very nice quilt!
ReplyDeleteWhat a fantastic idea.. SO cute.. The grandkids will love it.
ReplyDeleteThanks! Judy, it's always good to move a piece of fabric from stash to usable.
DeleteReally great use of the stash Dorothy - the quilt is quite lovely :)
ReplyDelete